Now that we understand the different knitting methods and styles, we can get started with reading the stitches.
A stitch is created by inserting the working needle into an existing stitch, wrapping the yarn around the needle tip, and pulling it through the existing stitch on the needle, which is then dropped off the needle.
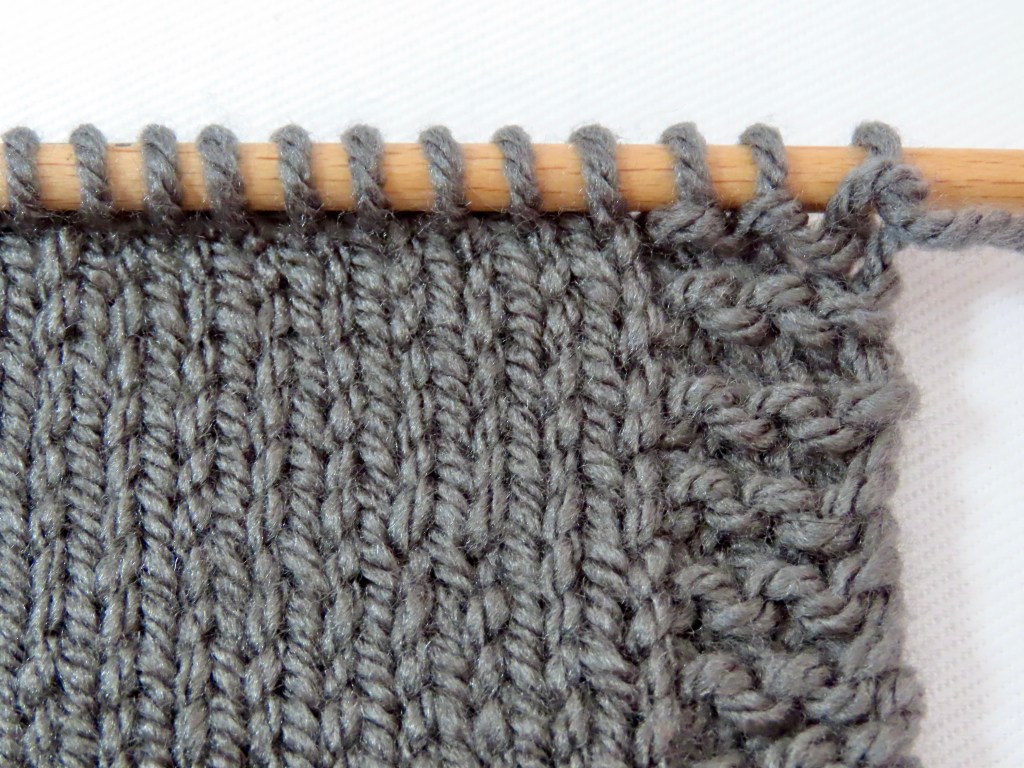
Depending on which direction the needle is inserted into a stitch, its top loop sits in front or behind the legs of the new stitch.
Working a knit stitch, i.e., pulling the yarn from behind the existing stitch through to the front, therefore means the existing stitch’s top loop sits behind the legs of the new stitch, and forms a ‘V’ shape in front of the knitting project. Remember it as a v-neck collar.
Working a purl stitch, i.e., pulling the yarn from the front through the existing stitch to the back, therefore means the existing stitch’s top loop sits in front of the legs of the new stitch, and forms a little bump, or ‘U’ shape in front of the knitting project. Remember it as a crew collar.


Consequently, if you turn your project around, the stitches will appear the other way around: stitches worked as knit stitches in the front look like purl stitches in the back, and vice versa.
So, how can you tell the front from the back of your knitting project? That’s what we are going to look into next time.
Happy knitting!
Your Crafty Geo, Eva

Leave a comment